Special Events
Demo Starter GuideAsk Portals
 Ask Portals
Getting Started
Building in PortalsBuilt in PortalsNavigatingScreen/Video SharingBuilding Blocks Accounts and Spaces
Advanced Building
Import SpecsAnimated GLBsImport Avatar SpecsAI NPCsStandard NPC DialogueWelcome GreetingMap GuidelinesTemplate Usage How to Import Custom 3D models
Building in Portals
Steps to enable Edit Mode within your Portals space.
The “Edit Space” option is the function that you will use the most when modifying and designing your room. Clicking it will reveal an inventory list of furniture and objects that you can use to build your space.
Note: If you’re in the demo, you’ll instead use the Gear Icon → Edit Space button to open the build tools

In the full builder, you’ll have options to switch to different base Templates — like the island, apartments, galleries or conference centers. Have fun!

Edit Space
To enable editing in your Portals space, do the following:
- Sign in with the wallet containing the NFT or the wallet which has been granted admin access.
- Click the "Edit Mode" button located in the lower-right of the screen. This will open the Inventory Browser pop-up and enable editing.

In Edit Mode, you'll be able to navigate your space with move and camera controls.

Items & Inventory
Selecting, editing, and placing items.
When Edit Mode is enabled, you will see an inventory of items you can add to your space. Your inventory will include items like furniture, accessories, decorations, walls/pillars, and image displays.

Placing Items
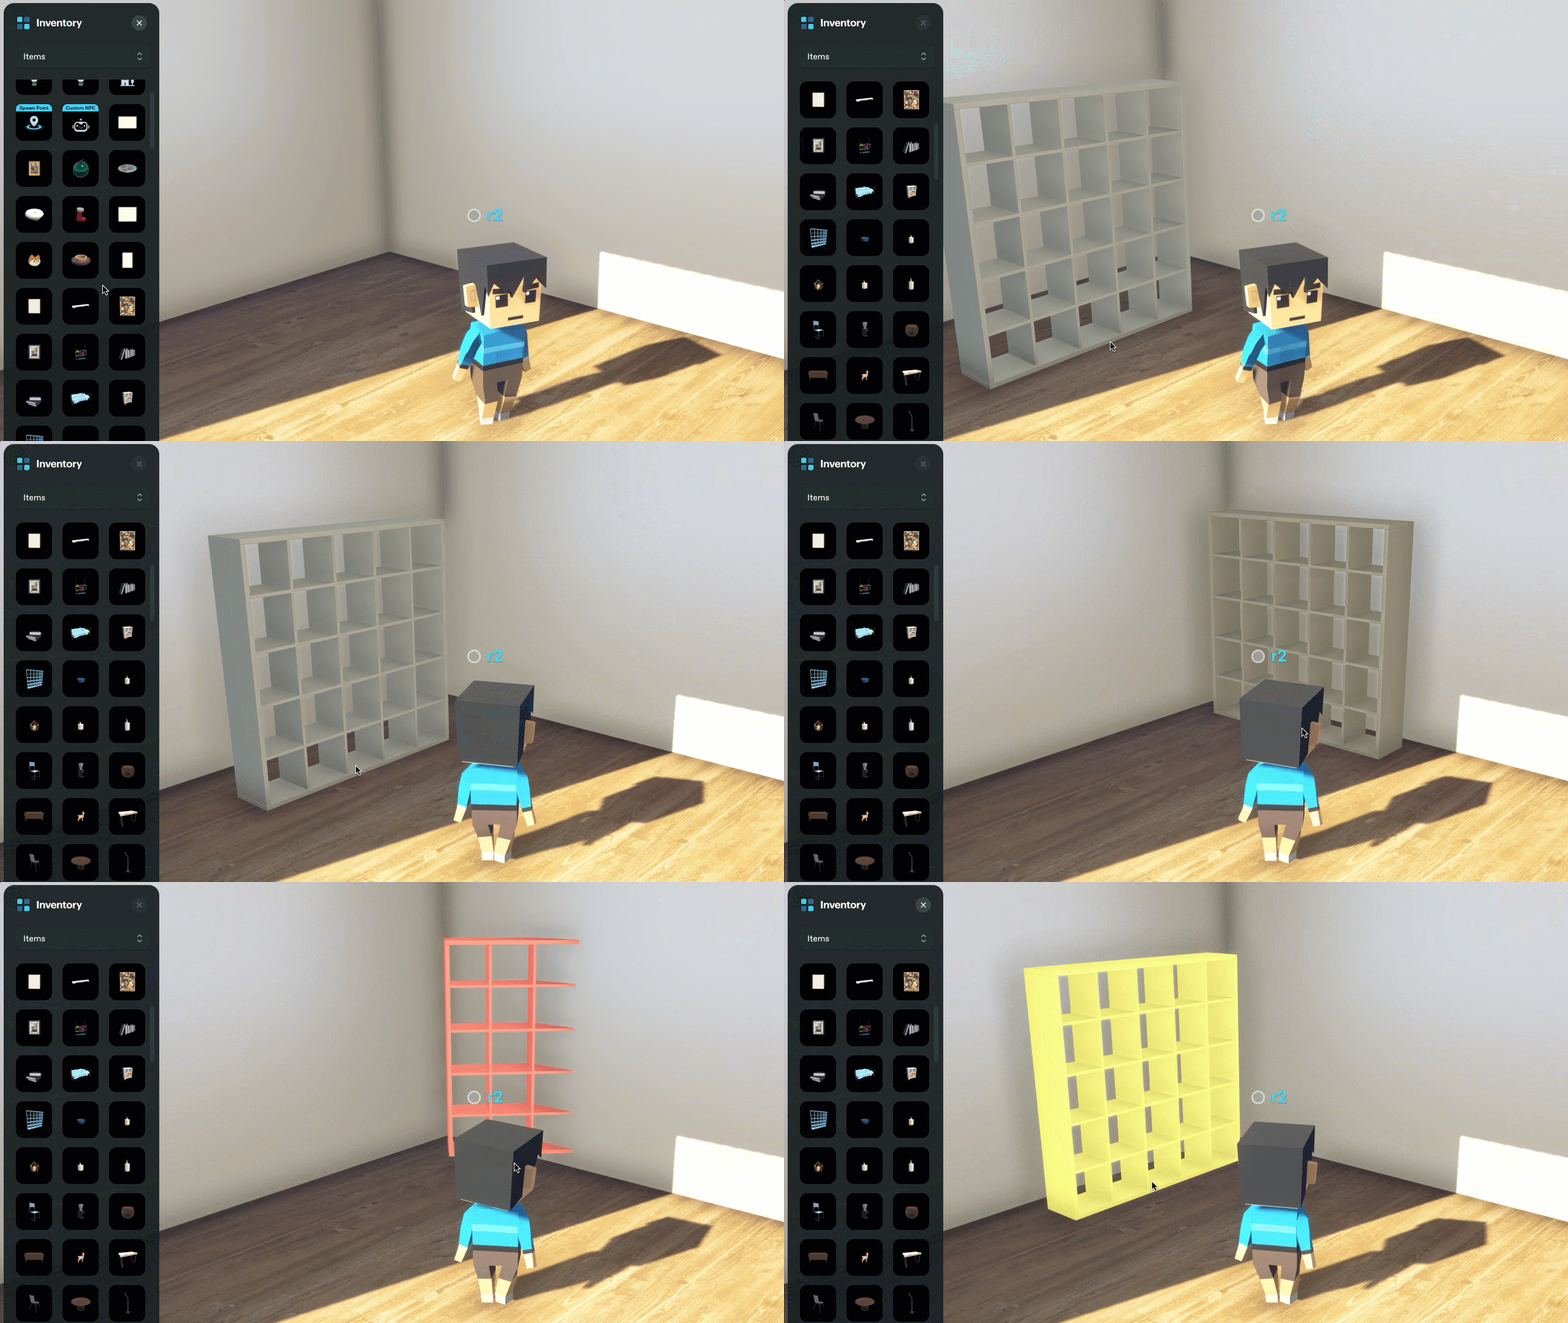
To place items from the inventory browser into your space, do the following:
- Click on an item from the inventory.
- Use the mouse to place the item.

Move and adjust items using the same method once they have been placed in a space.
Undo/Redo
Mac
- Undo: Cmd+Z
- Redo: Cmd+Shift+Z
Windows
- Undo: Ctrl+Z
- Redo: Ctrl+Shift+Z
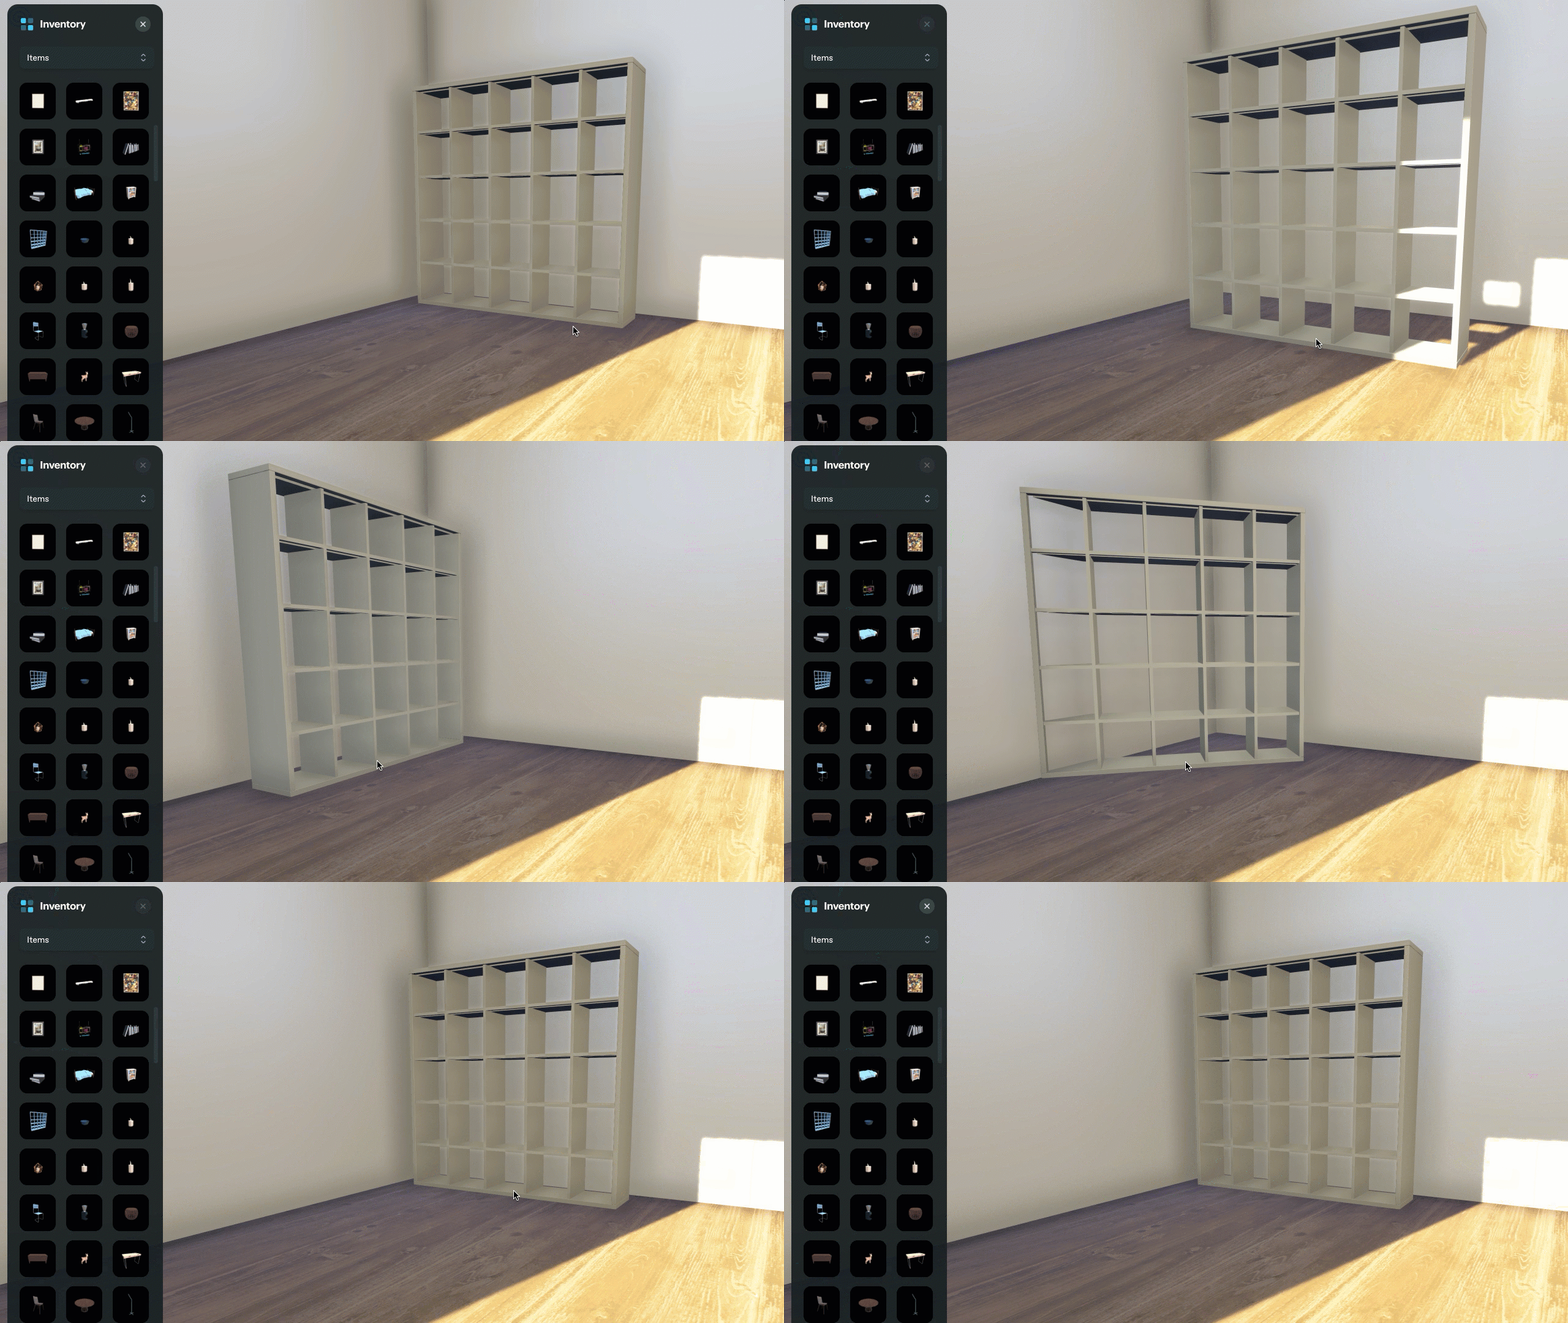
Rotating Items
Items can be rotated or resized depending on the type of item they are. Items like furniture and accessories can be rotated. Images and NFT items can be resized when placed on walls.
To rotate an item, use the following commands:
- Press Q to rotate left.
- Press E to rotate right.

Deleting Items
There are two options for deleting items from a space:
Option 1 - Place your mouse pointer over an item, right-click, and select "Delete.”

Option 2 - Click and drag an item over the trash icon in the Inventory Browser.

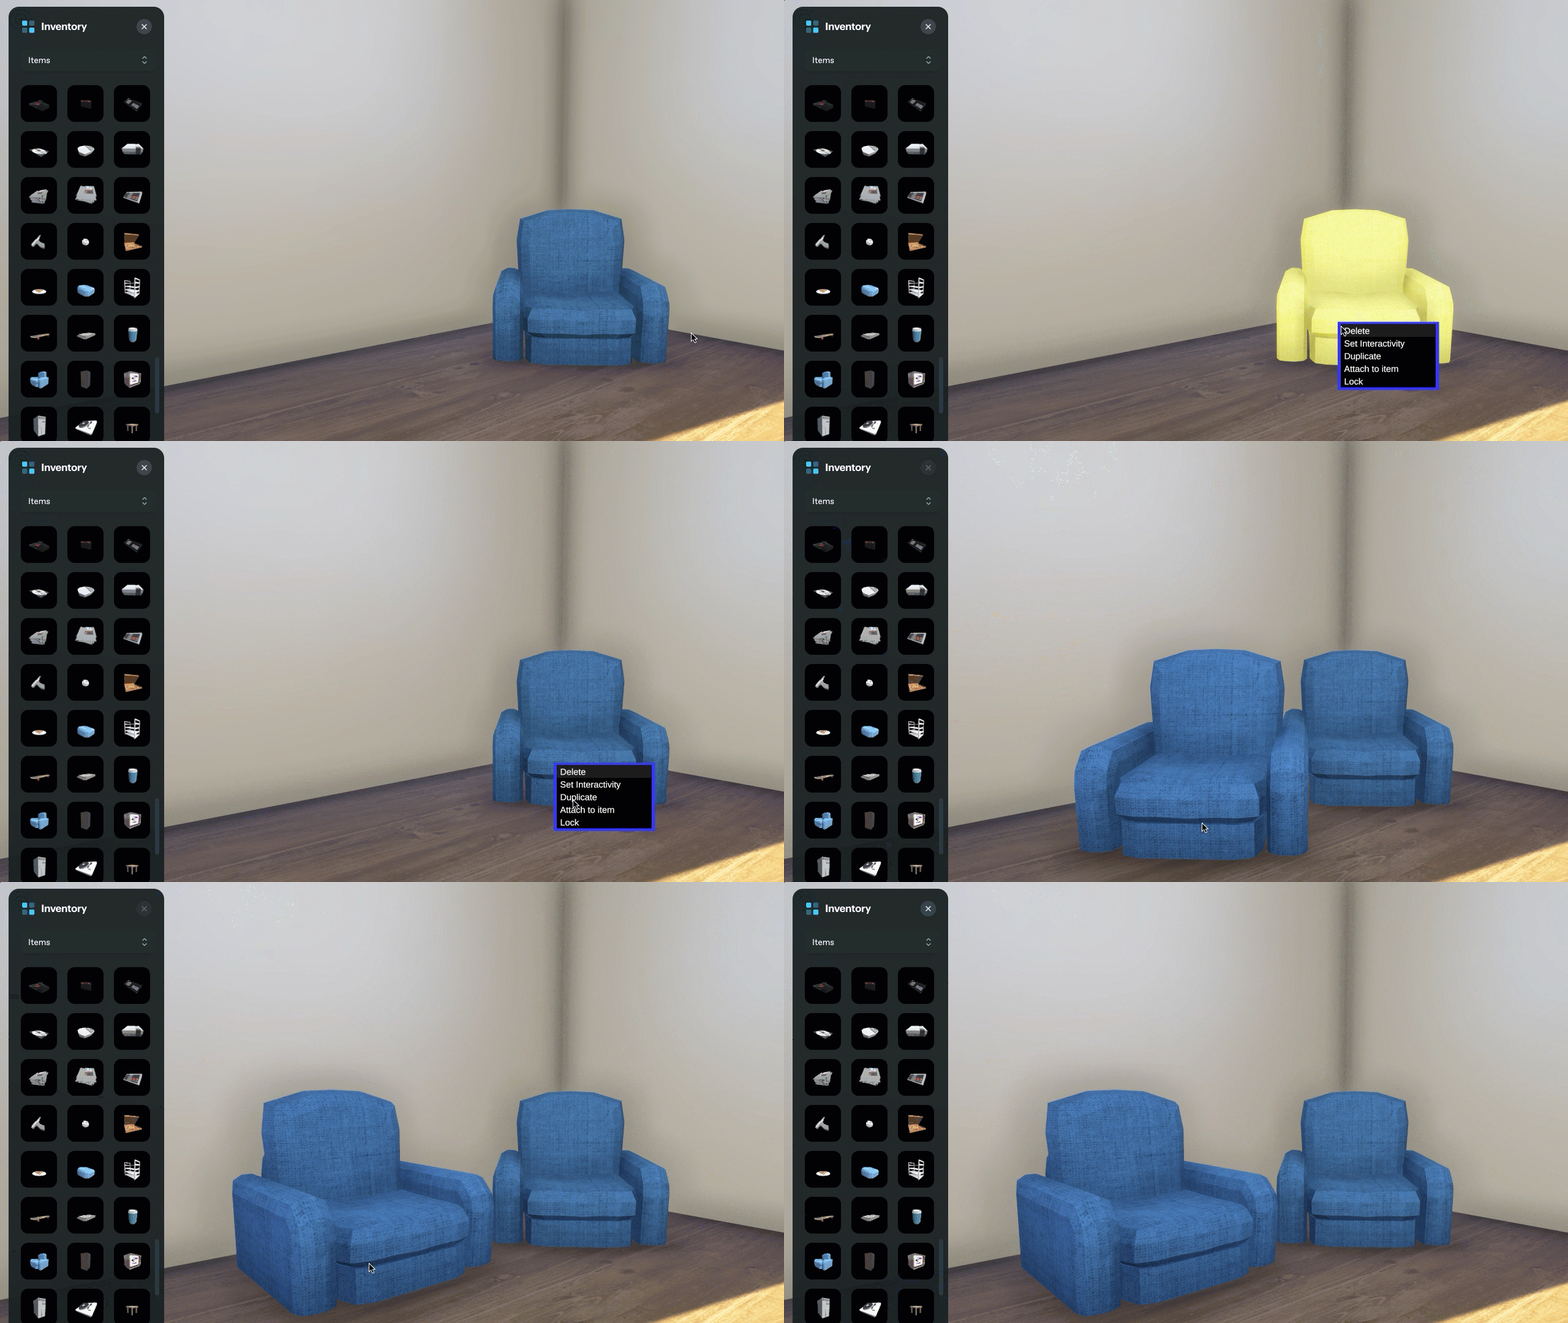
Duplicating Items
You can duplicate items by placing your mouse pointer over an item, right-click, and select "Duplicate." The duplicated item will be selected and moveable with your mouse.

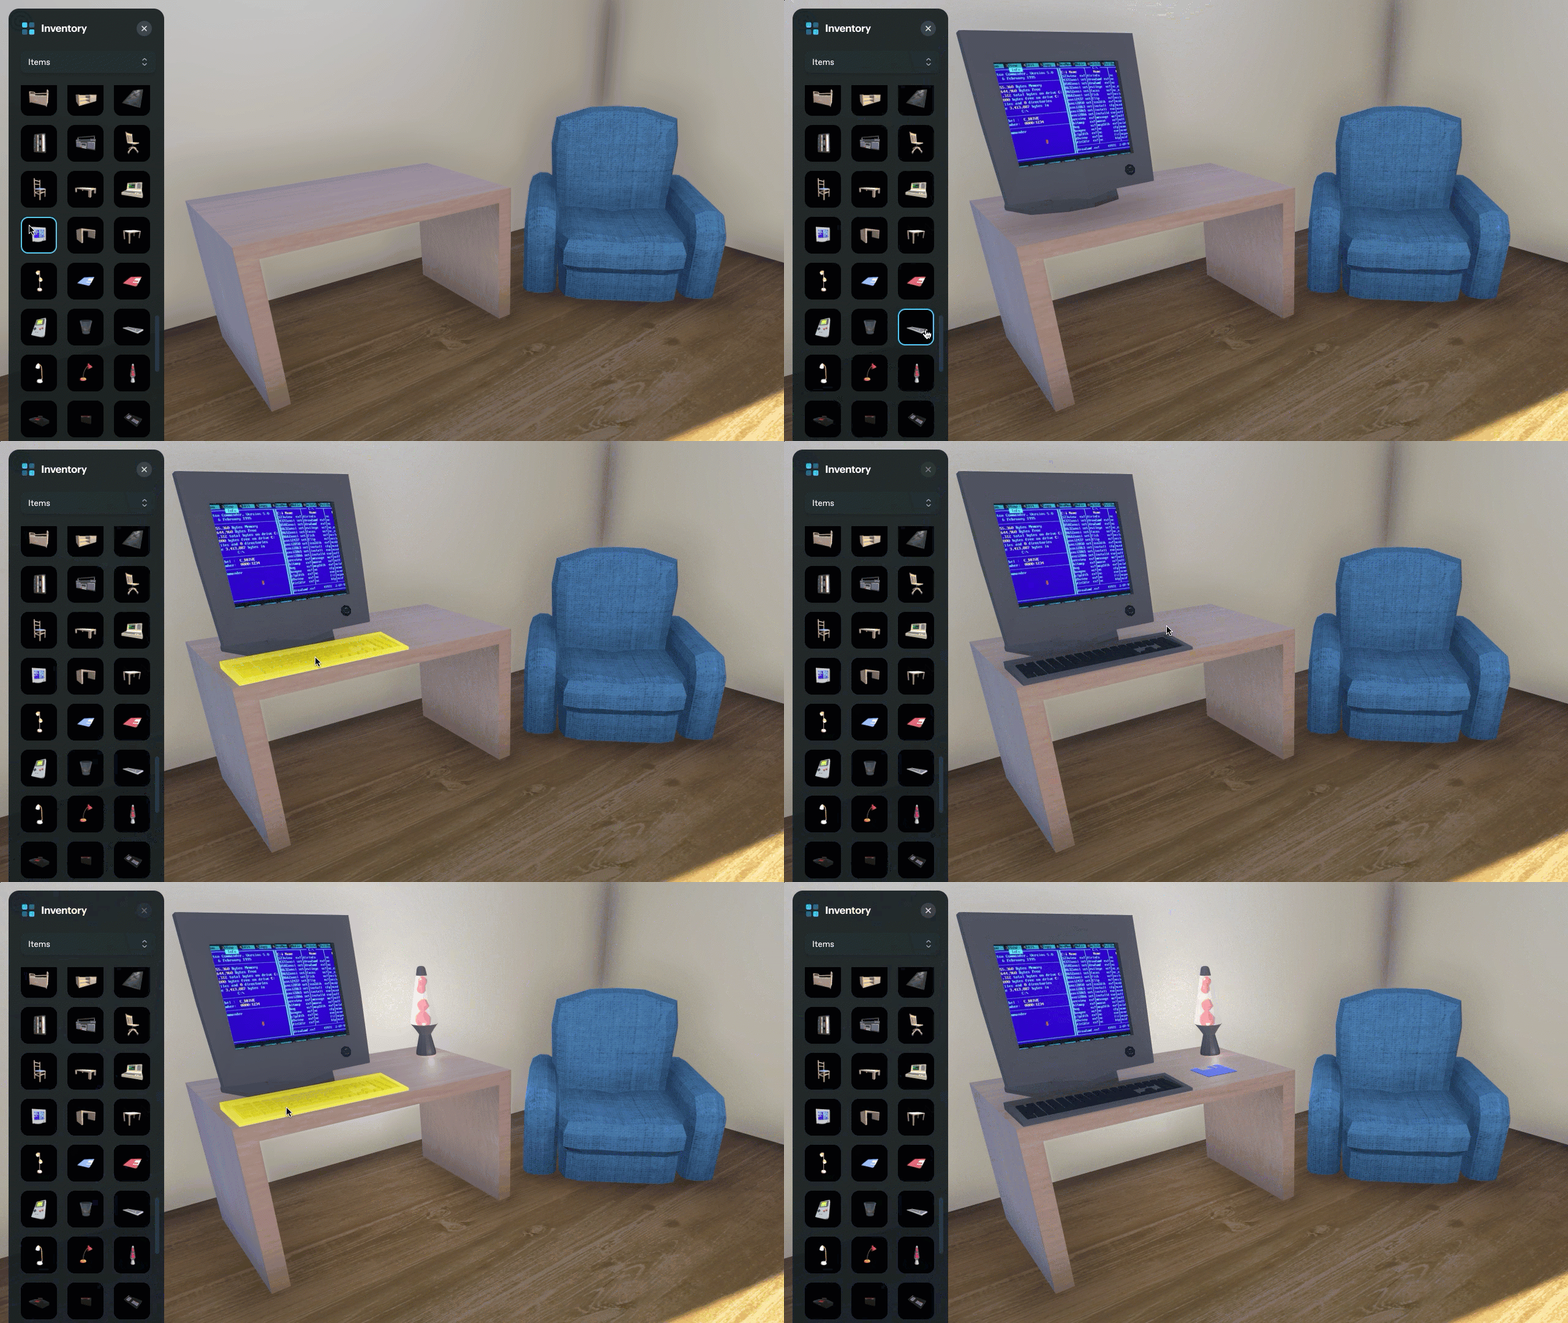
Stacking Items
Items can be stacked or overlap. Small items like books, games, food, small plants, and small lights can be placed on items like tables and shelves.

Images / GIFs
Adding and adjusting image items.
Images and GIFs allow for unimaginable creativity. They can be used as pictures on wall or they can be used as textures.
Adding Images
To add an image to a space, select an Image Item from the Inventory Browser.

There are two options for adding images: using an image URL, or uploading/selecting an image from the gallery.

Option 1 - To add an image from URL, do the following:
- Select an Image Item from the Inventory browser.
- Paste an image URL into the entry field and press Enter to place it in your space. (When searching for images online, it is helpful to open the image into a new tab to copy the URL)

Option 2 - To add an image and select from the gallery, do the following:
- Select an Image Item from the Inventory browser.
- Drag an image file into the drop zone or select "browse files" to locate an image on your local drive.

- Select the image from the gallery to place in your space.

Once you have selected an image to add to your space, use your mouse to position the image over a wall or column.

Resizing Images
To resize an image, use the following commands:
- Press Q to reduce size.
- Press E to increase size.
Image Frames
Image items automatically come with frames enabled. Do the following to toggle frames on or off:
- Place the mouse pointer over an image item.
- Right-click and select "Remove Frame" or "Add Frame”

Deleting Images
There are two options for deleting image items from a space:
Option 1 - Place your mouse pointer over an item, right-click, and select "Delete.”

Option 2 - Click and drag an image item over the trash icon in the Inventory Browser.

Duplicating Images
You can duplicate image items by placing your mouse pointer over an item, right-click, and select "Duplicate." The duplicated item will be selected and moveable with your mouse.

NFTs on Solana
Adding and adjusting Solana NFTs.
Portals allow you to showcase the Solana NFTs in your wallet by featuring them in your room. This process is as simple as a click and drag as outlined in the instructions for adding image items.
To select a Solana NFT item, do the following:
- Select "Solana NFT" from the Inventory browser.

- Select an available NFT from the list. (Load times may vary depending on the number of NFTs in a wallet. Users have reported longer load times with 100+ NFTs in a wallet)

By default, you can put up Solana NFTs that are in the same wallet as your access card (Portals NFT). Wallets or users that have been given admin access can add NFTs from their respective wallets.
Editing and resizing NFTs is the same as image items.

NFTs on Ethereum
Linking a Metamask wallet to add Ethereum NFTs.
This option allows you to connect your ETH wallet with your Portals. Similar to the verification with Phantom to verify ownership of your Portal and access your unit, the “Link Ethereum'' option will connect with your Metamask Ethereum wallet and prompt a login into that wallet. Following the login, you will be required to approve the signature request to link your ETH.
Link Ethereum Wallet
To link your Metamask wallet and access you Ethereum NFTs, do the following:
- Click the gear icon to enter Edit Mode.
- Click "Link Ethereum”

- Click "Sign" in the Signature Request pop up window. When successfully connected, the "Link Ethereum" button will change to "Ethereum Linked.”

Adding Ethereum NFTs
Once connected, you'll be able to display NFTs from your Metamask wallet by doing the following:
- Click "Edit Space" to open the Inventory Browser.
- Click "ETH NFT" from the Inventory Browser.

- Select the desired NFT from the list of ETH NFTs to add to your space.
Adding and editing ETH NFTs works the same as Solana NFTs.
Walls and Windows
Changing walls and windows.
Ivory, Onyx, and Vision Portals NFTs each have their own set of wall and window options. Lighting details will adapt to match the selected option. For example, windows will feature simulated natural light with shadows, while spaces without windows will utilize simulated indoor lighting with subtle shadows.
Changing Walls
To change the wall/window option in a Portals space, do the following:
- Click the gear in the top-right corner of the browser.
- Click "Edit Space." This will open the Inventory Browser pop up and enable editing.
- Place your mouse pointer of the wall you you face when first entering a space, right-click and choose "Change Wall." Repeat the process to cycle through the available wall/window options.


Item interactivity
To set interactivity for an item, do the following:
- While in Edit Mode, place the mouse pointer over an item and right-click.
- Click "Set Interactivity" to bring up the pop up Edit window.

- The Edit window will have a drop-down menu of options.

The menu of options include: No interactivity, Image, Website Link, and iFrame/Games.
The the arrow icon "<" in the top-left of the window will bring you back to the Inventory Browser. The "X" icon in the top-right will close the window and leave Edit Mode.
No Interactivity
This is the default for items. This option leaves items in a static state.
Image
This option will produce a pop up window with an image when an item is clicked on.

- Add image link here - provide a link to an image that will be displayed when an item is clicked on.
- Button Text - Optionally add text for a call to action button for a viewed image.
- Button URL - Optionally add a URL that will open in another tab when the button is clicked.
- Preview - This shows a preview of the image generated from the image link.
- Save - Save button for committing changes.
To add an image as an interactive element, provide a URL and optional button settings and click "Save" to commit the changes.
Website Link
This option is similar to adding an image as interactivity. The main difference is a website tab will open immediately after an item is clicked.

To add website interactivity, add a URL and click the "Save" button at the bottom of the window.
iFrame / Games
One of the more robust features, iFrame embeds allow websites and other HTML5 applications to be embedded in a pop-up window (like an interactive image). You can embed standard websites and even games like poker or retro videogame emulators.

You can add a URL to the iFrame Enbed entry field or select from avaialable games listed under "Multiplayer presents" and "Singleplayer presents." Once configured, save changes.
iFrame embeds must be standard URLs beginning with HTTPS.
Interacting With Items
Items with interactivity will highlight when moving the mouse pointer over them.

Once an interactive item is clicked, an action will occur. Website interactivity will open in a new tab. Images and iFrames will open as a pop-up window in the center of the browser taking up a large portion of the viewable area.

The pop-up window will display the iFrame content in the center area and encase it within the borders of the window.
Interactive pop-up windows have three buttons located on the top-right:
- Minimize (_) - This option will keep the content active while minimizing the window from view. This allows you to return to the previous state when it was in view. For example, a music player will continue to play while minimized, and a logged in account will remain active.
- Fullscreen (☐) - This option increases the size of the window to fill the entire viewable area. Press this button again to return back to the original pop-up window size. This is helpful for viewing content that is large or contains more details.
- Close (X) - This option will exit out of the pop-up window. Any active state will be reset. Use caution when closing out of a music player or game as it will exit out completely.
Room Options
Steps to enable Room Options within your Portals space.
To view Room Options, do the following:
- Click the gear in the top-right corner of the browser.
- Click "Room Options" to open the Room Options pop up and enable editing.

Once selected, the Room Options pop up window will open on the left side of the browser. These options will be discussed in the following pages.

Delete All
How to reset your space using "Delete All.”
If you want to "reset" your space (remove all items and furniture) then follow these steps:
- From the Room Options pop up window, select "Delete all furniture in room.”
- Click "Delete all furniture in room”

- You will be prompted with a warning message before permanently deleting all itms from your space. Click "OK" to delete all items. WARNING: This cannot be undone.

The Portals space will now be empty and clear for a new build.
Toggle Day/Night
Toggling Day/Night Views.
You can toggle between day and night mode to change the ambience in your space.
To toggle day and night mode, do the following:
- From the Room Options pop up window, select "Toggle day/night.”


Global Speaking Mode
Toggling Global Speaking Mode.
Global Speaking Mode enables all visitors to hear a single sound source, like someone speaking. In addition, guests are muted unless authorized to speak. This is useful when making announcements to guests spread out within a Portals space or holding events where everyone is focusing on the main speaker or performer.
To toggle Global Speaking Mode, do the following:
- From the Room Options pop up window, select "Toggle Proximity Speaking.”

There will be an indicator in the top-left corner of the browser when Global Speaking mode is enabled.

Game Settings
Steps to adjust Game Settings within your Portals space.
The Game Settings give you options for adjusting audio and video within your Portals space.
To open the Game Settings, do the following:
- Click the gear in the top-right corner of the browser.
- Click "Game Settings" to open the pop up window.

Graphics
You can optimize the visual experience within Portals by adjusting the graphics settings to suit your individual or computer hardware needs. Higher settings look smoother and are ideal for screenshots. Lower settings can help lower power CPUs and older machines run better.
From the Game Options window, select "Graphics" to adjust graphics quality and resolution.

- Graphics Quality - Increase/decrease realistic shadow detail and dynamic lightning.
- Resolution - increase/decrease sharpness of objects and polygons.
Audio
Audio settings give you control over the mix of sound elements within a space. Leaving these on gives the full audio experience. However, it might be convenient in some situations to disable specific types of sounds.
From the Game Options window, select "Audio" to adjust sound effects and background sounds.

- Sound Effects - Player sounds and interactions.
- Background Sounds - Music and background noises.
Invite a Friend
Steps for accessing a shareable URL to a Portals space.
A shareable URL makes it possible to invite the public into a Portals space. While editing privileges are reserved for owners, renters, and users with admin access, anyone can enter and experience a Portals space if they have the public URL.
There are two options to get a shareable URL:
Option 1 - Invite a Friend
- Click the gear in the top-right corner of the browser.
- Click "Invite a Friend" to open the pop up window.
- Click "Copy" to copy the URL to your clipboard.

Option 2 - Copy URL from browser
- Locate your browser's URL field and copy the URL.

